
Let’s face it—we all have a million photos on our phones. You know, the blurry ones, the accidental thumb shots, and the "Wait, why did I take 17 photos of this latte?" moments. But mixed in with those are some real gems—family portraits, sunsets, and vacation memories that deserve more than just living in your camera roll.
So, how do you take those digital treasures and turn them into print-ready masterpieces? Let’s get you from phone to frame in no time with some playful tips, a few chuckles, and practical advice.

1. Start with the Right Resolution
Pixels matter...a lot! Not all photos are created equally when it comes to printing. The magic number to remember here is 300 DPI—that’s dots per inch, and it’s the golden standard for making sure your prints look clear and crisp, not like they’ve been stretched out of a Minecraft game.
So, how does this work in real life? Let’s say you have a photo that’s 600x900 pixels (you know, the ones from your older phone). If you want to print that at 8x10 inches—first, don't! Because, if you divide those 600x900 pixels by 300 DPI, that’s only 2x3 inches! So trying to print it at 8 inches wide would look, well, worse than Minecraft. Your photo would be blurry and grainy, and you deserve better than that!
Pro tip: Aim for larger files with more pixels, especially if you’re going big with the print size. A good rule is to multiply your desired print size by 300 to get the minimum number of pixels you need for a clear print. So, for an 8x10, you’d want at least 2400x3000 pixels.

2. Editing Without Over-Editing
We all love a good filter. That sepia-toned, vintage vibe or that "I’m living my best life at the beach" filter might be fun for Instagram, but when it comes to printing, moderation is key. You don’t want to look back at your framed photos and wonder why everyone looks like they’re glowing like a light bulb.
Here’s the deal:
If you're looking to nail that natural look, make sure you’re viewing your edits at 100% zoom. It’ll show you how it will look in print rather than just on your phone screen.

3. Choosing Your Paper: The Print Canvas
Now that you’ve got your photo looking picture-perfect, it’s time to print. And not all paper is the same! Choosing the right print medium is like picking the right outfit—it completely changes the vibe.
Here are some fun options for different vibes:
Each of these options adds a unique touch, so think about the mood you're going for. Are you trying to add a glossy pop to your living room or a matte, calm vibe to your bedroom?

4. Size Matters: Scale It Right
Now, let’s talk size. Before you press print, think about the size of your photo and how it’ll look on your wall. Remember our friend 300 DPI? It’s back!
If you want a sharp, clear print, you need to make sure your file is big enough for the print size. Here’s a quick cheat sheet:
- 4x6 inches: You’ll need a photo that’s at least 1200x1800 pixels.
- 5x7 inches: Go for a file that’s 1500x2100 pixels.
- 8x10 inches: Make sure your file is at least 2400x3000 pixels.
The bigger the print, the more pixels you need, so don’t stretch a small file into a large frame. Otherwise, you’ll be looking at a pixelated mess that’s best reserved for abstract art fans.

5. Printing Options: DIY or Pro?
Now that your photo’s ready, you’ve got options for printing. Whether you want to do it yourself or let the pros handle it, here’s a quick rundown:

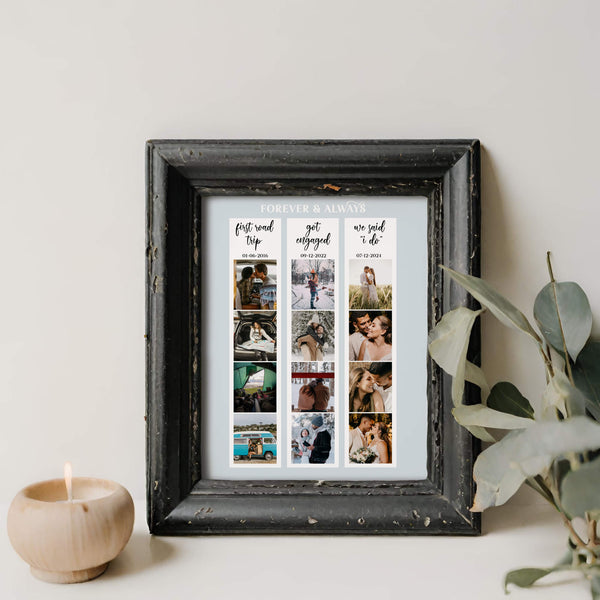
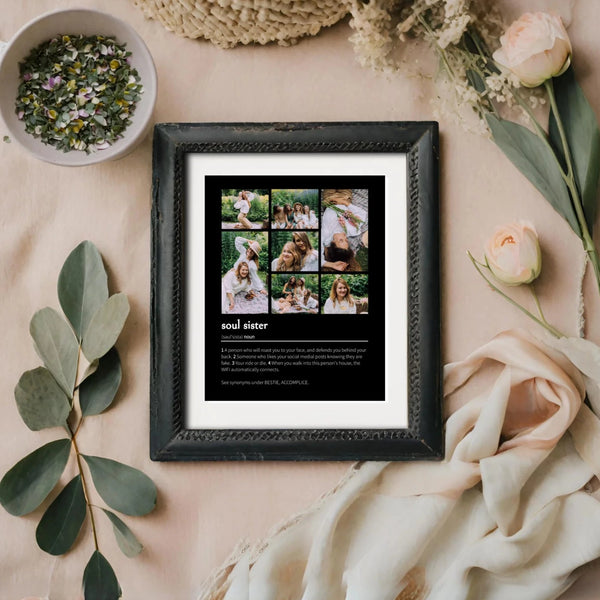
6. Frame It Like a Pro
You’ve made it! Your photo’s edited, printed, and looking fab. Now, it’s time to frame it. Don’t just grab the nearest frame—pick something that enhances your photo’s vibe.
And remember, if you’re building a gallery wall, mix and match frame styles and sizes for that curated look.
Enjoy Your Print!
And voilà! You’ve successfully turned a photo buried in your phone into a piece of art worthy of your wall. Now you’re all set to print your digital photos like a pro.
Go ahead, print your favourite memories, and make your walls happy!
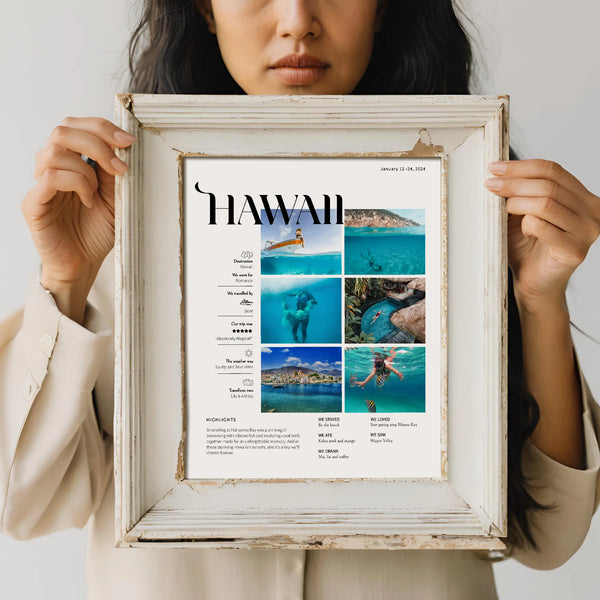
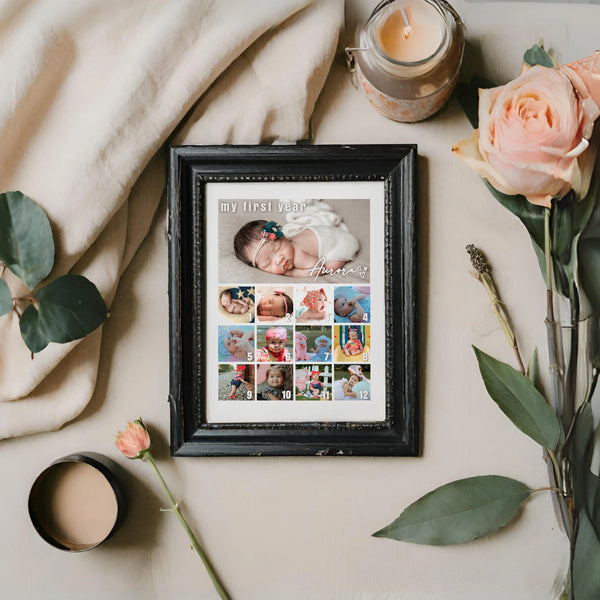
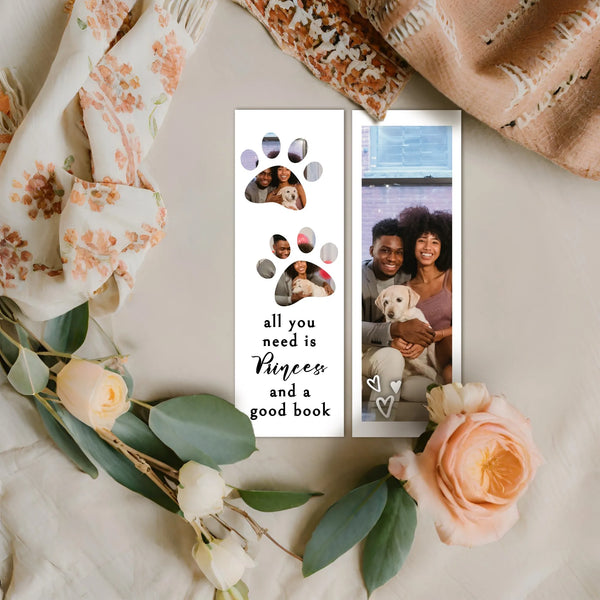
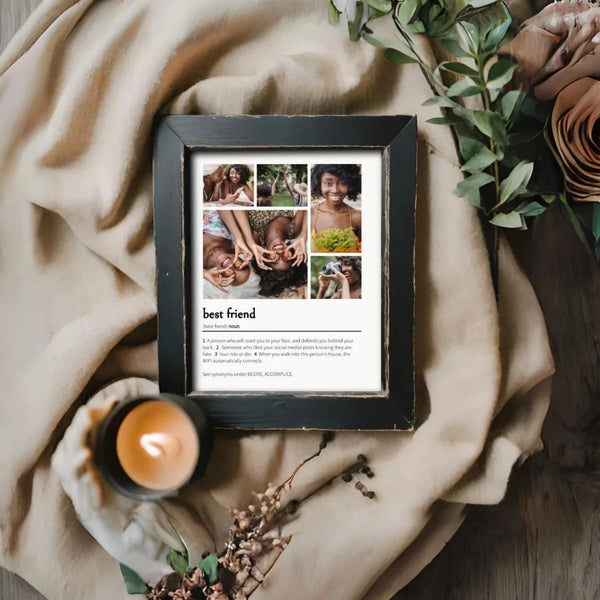
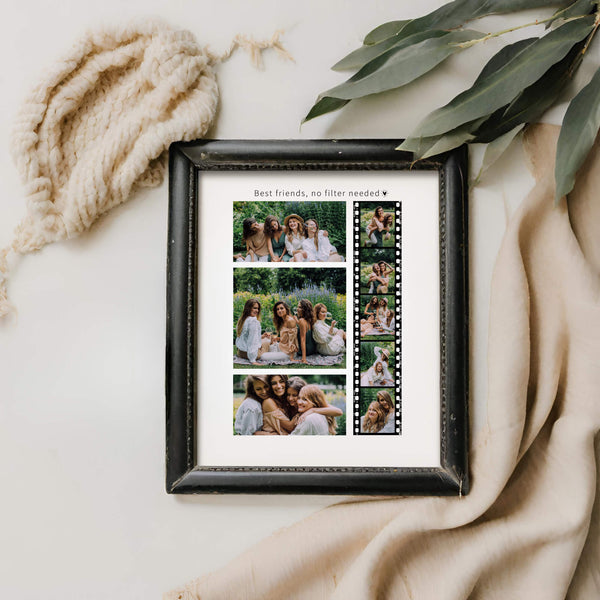
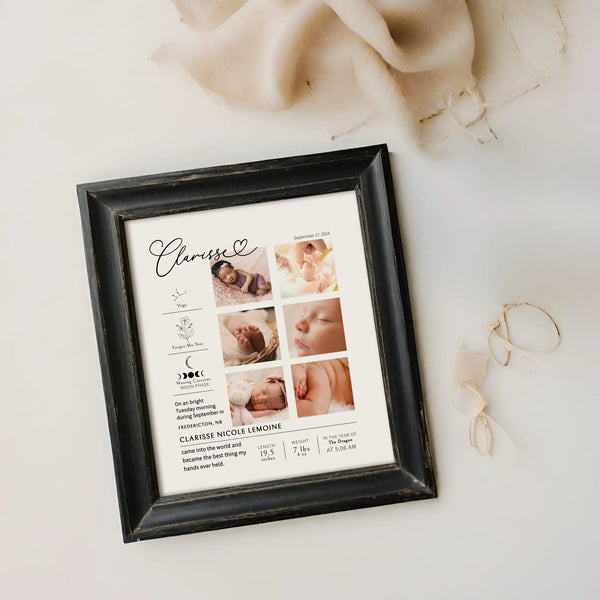
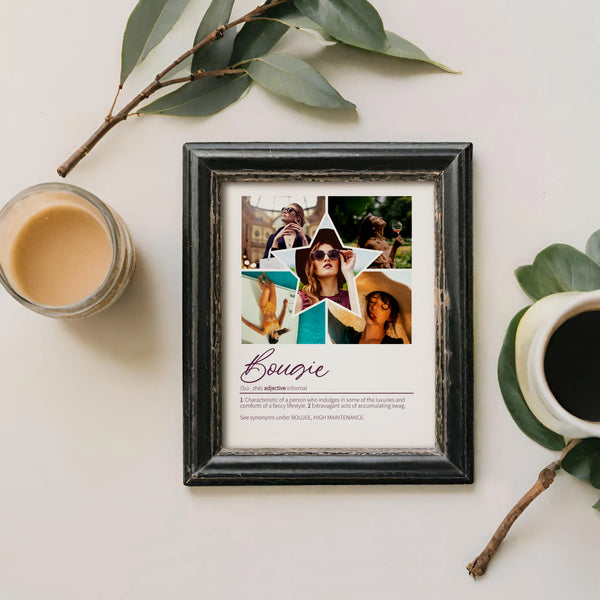
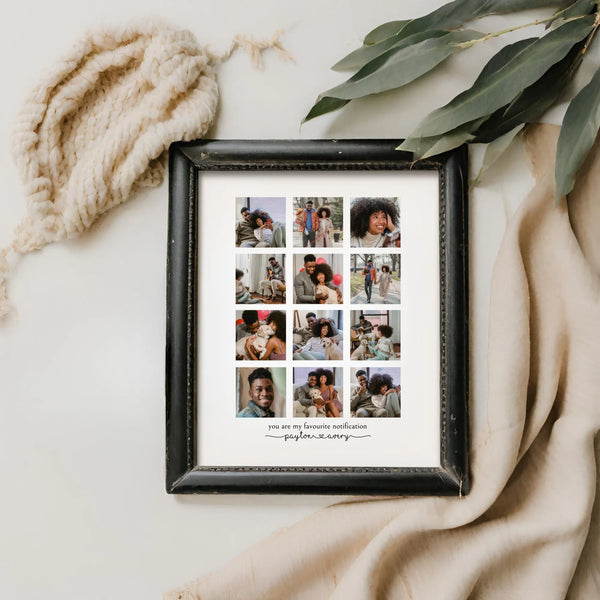
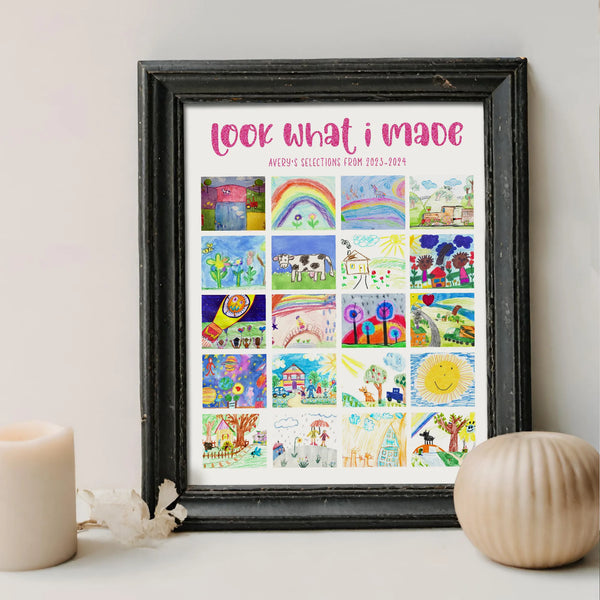
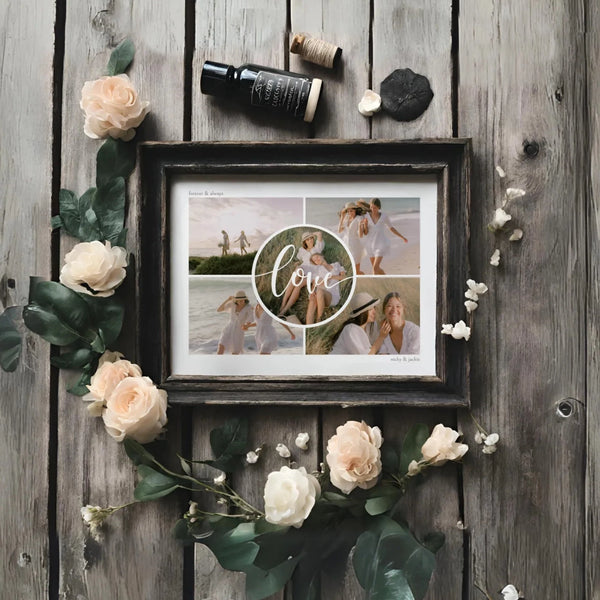
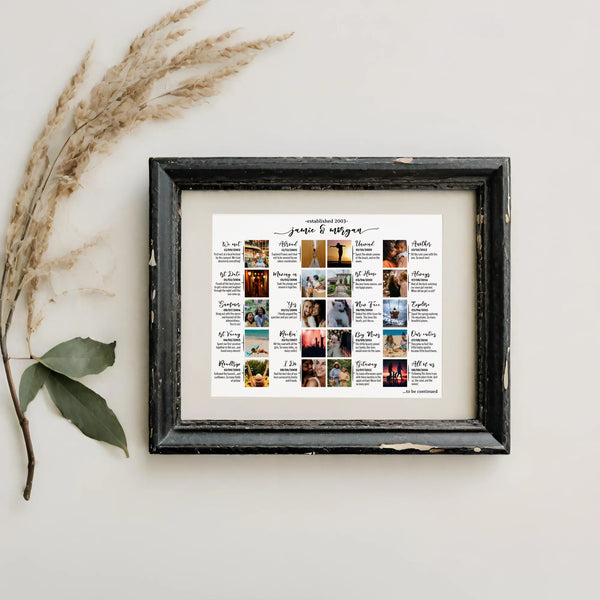
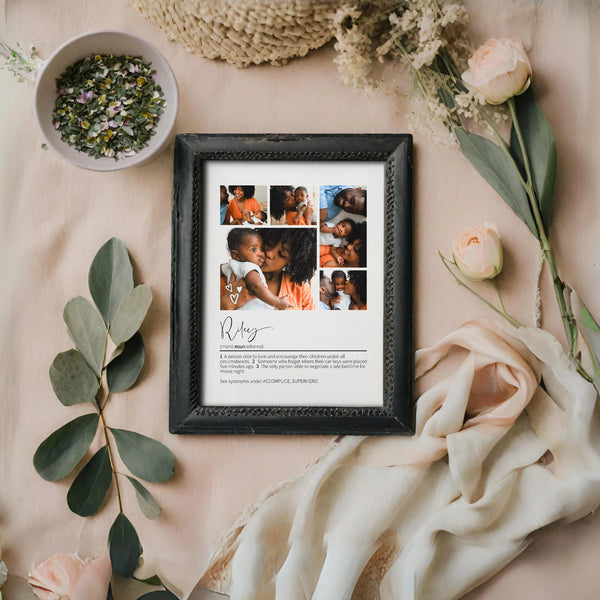
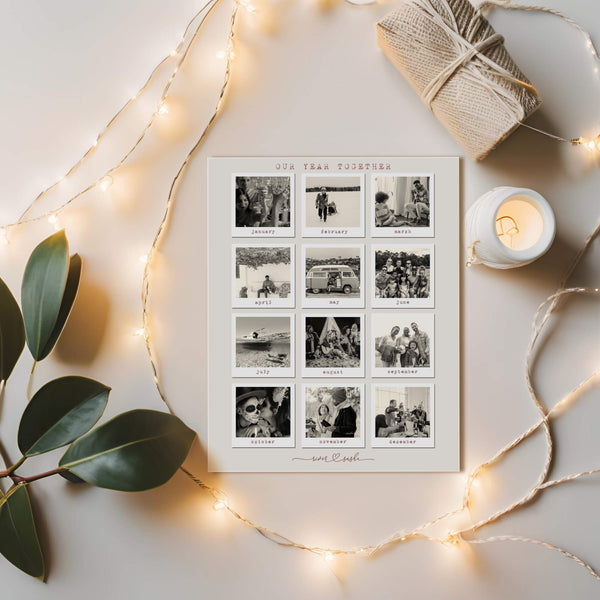
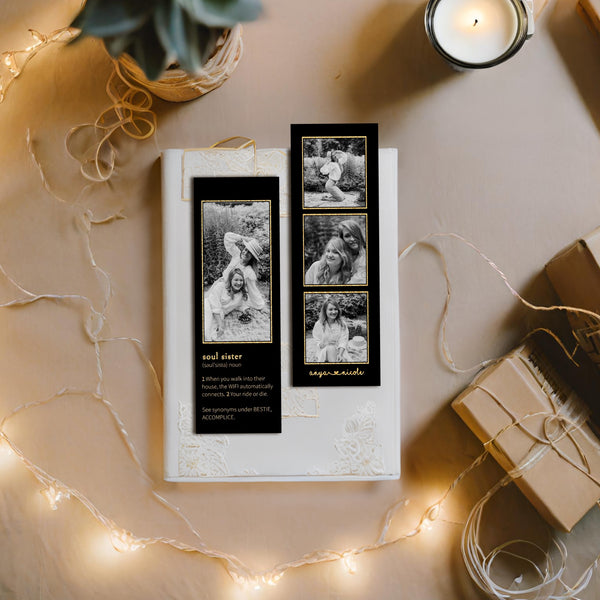
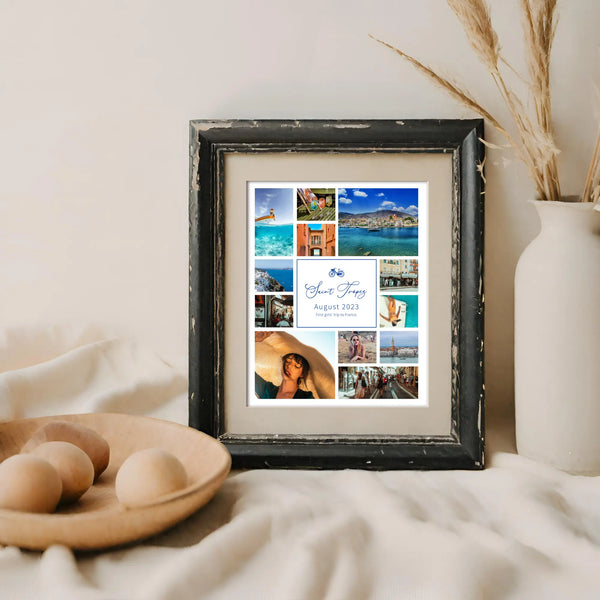
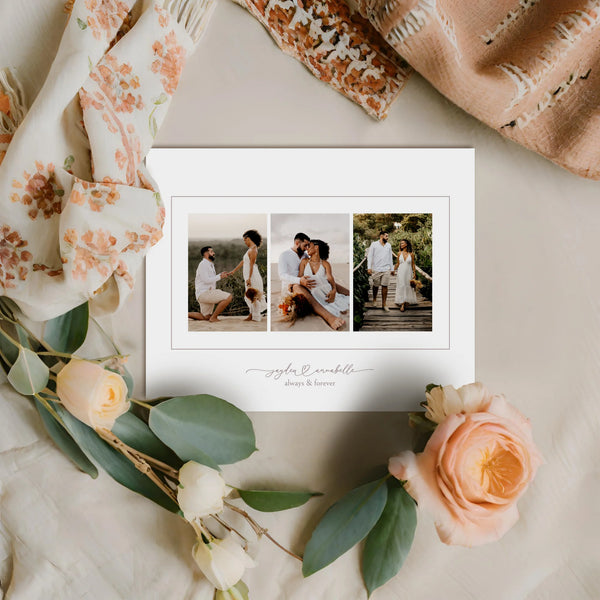
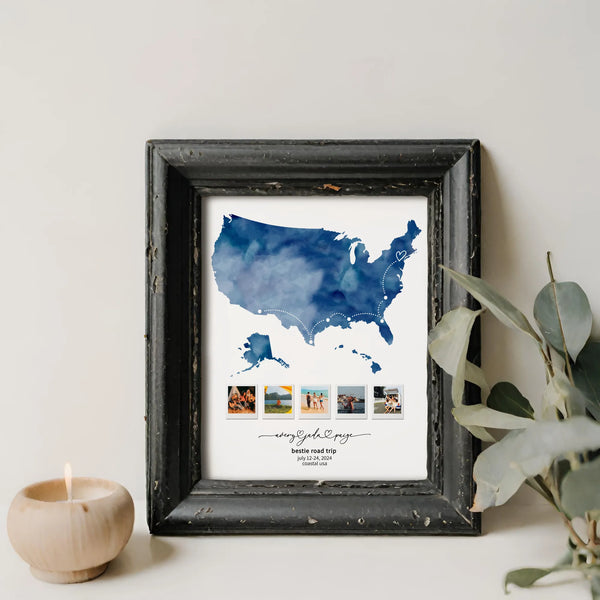
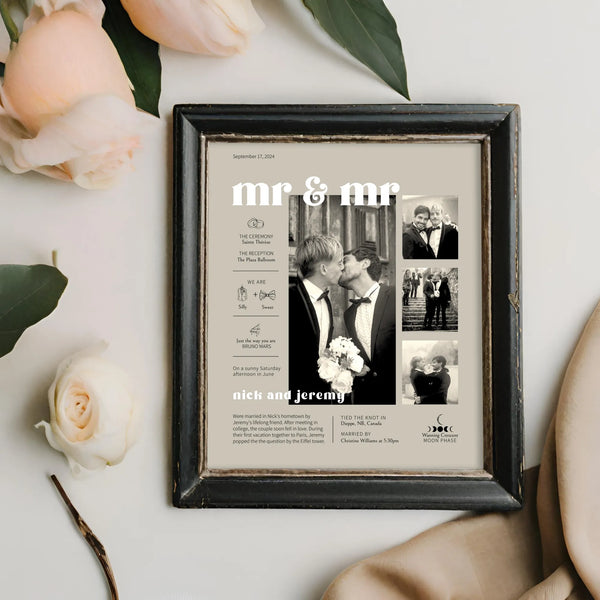
Need some inspiration? Check out Playful Pixie Studio for customizable templates to give your photos that extra touch before printing!

Talk later,