So, you are looking for an AMAZING personalized gift and stumbled onto the beautiful world of DIY editable templates. They are so pretty and sparkly, like unicorns in a field of horses! But editing online, huh?! From my web browser, what? For real, then I just download, and print! Yup, that’s the glittery truth.
The first thing you need to do after purchasing your template is to open it in Corjl.com/orders. Go ahead, I'll wait…
FIRST TIP
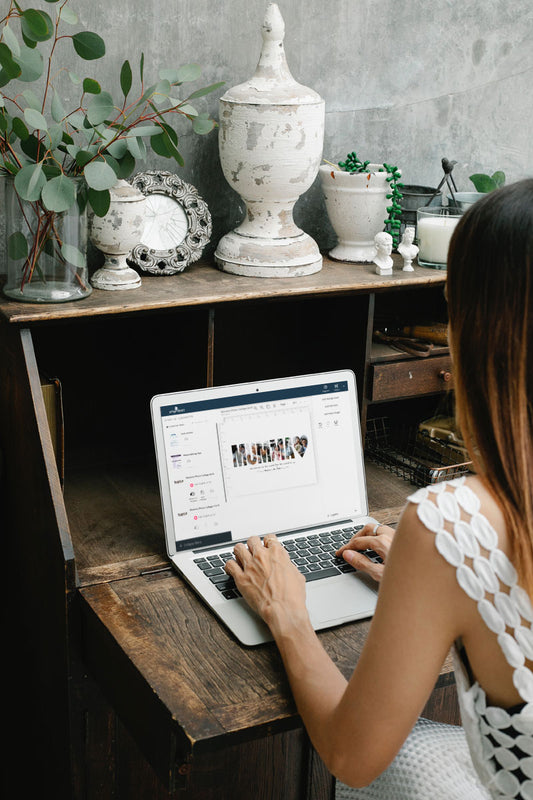
Edit PHOTO COLLAGES from a desktop or laptop computer using Google Chrome web browser. Any comprehensive edits should be done from a computer. The editor can be testy when editing photos from a mobile - like, a grumpy bear kinda testy. So just don't do it!

*Basic text edits can easily be done from your mobile. So if you're editing an invitation or something text based, you will be fine!
Okay, you're computer is on and the template is open, let's do this!
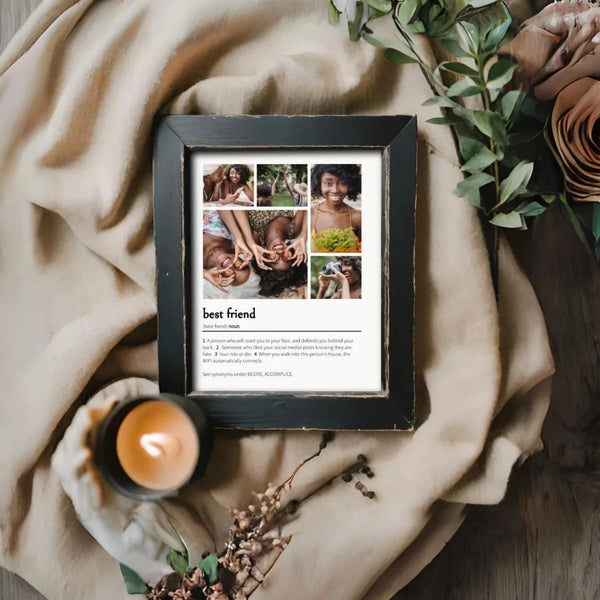
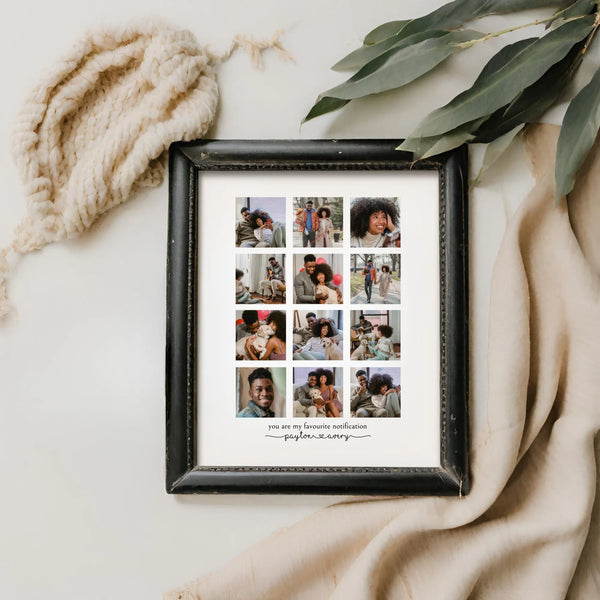
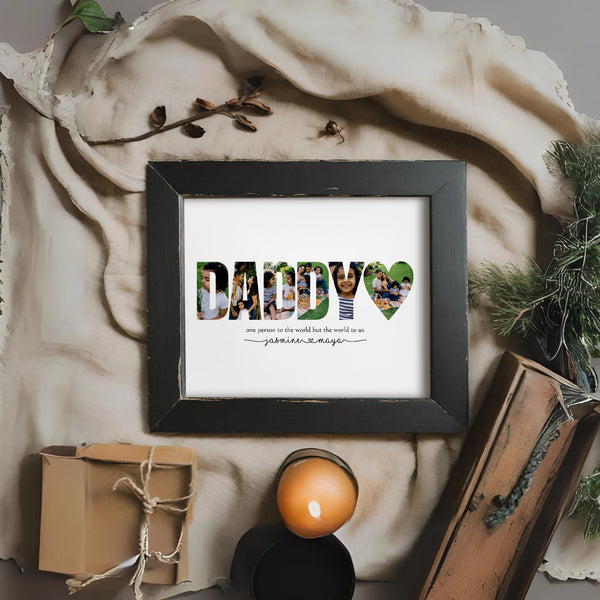
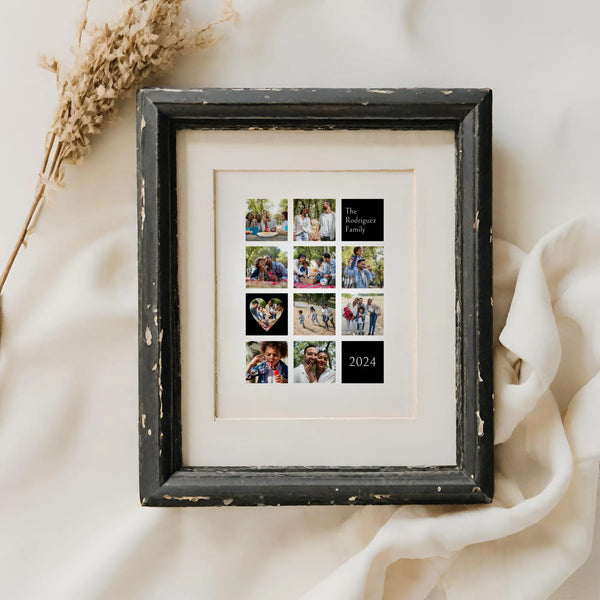
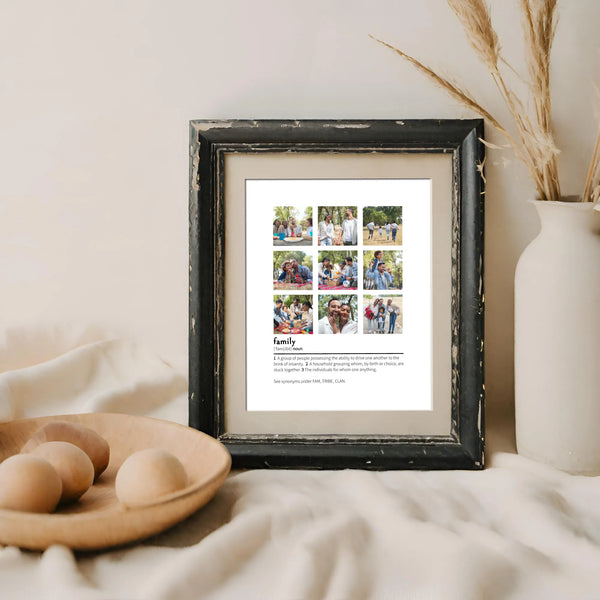
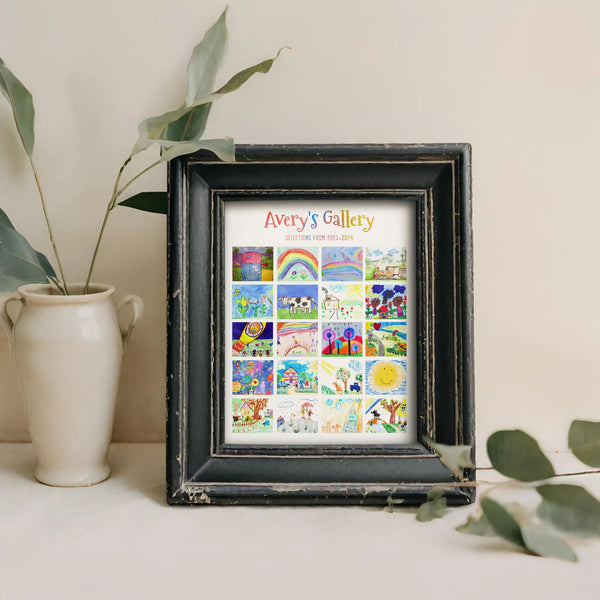
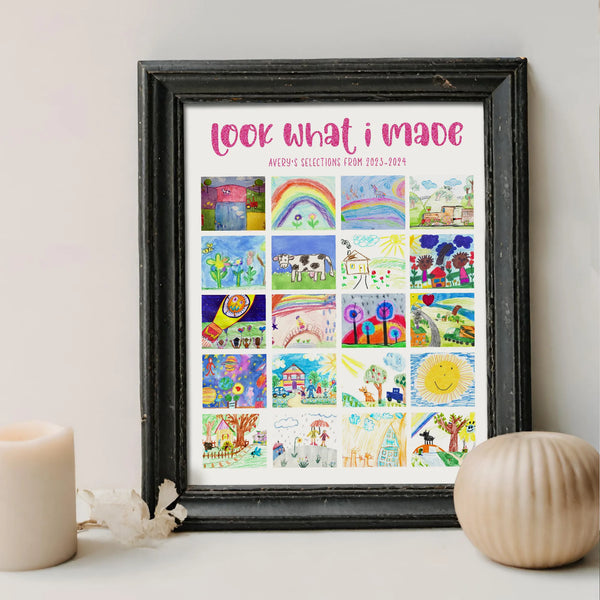
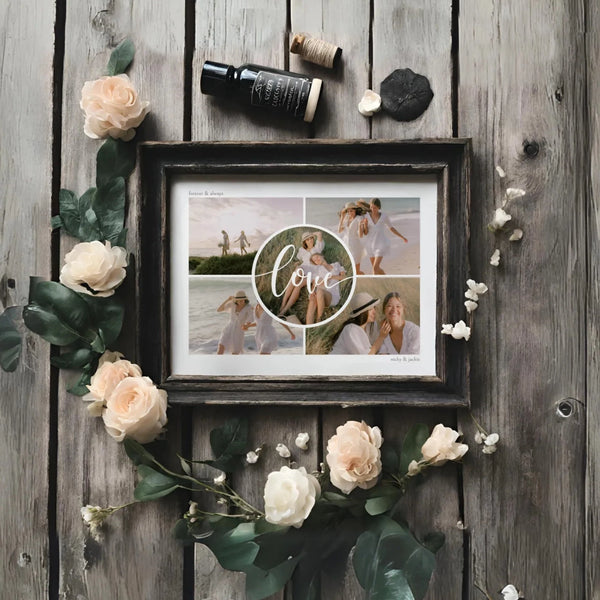
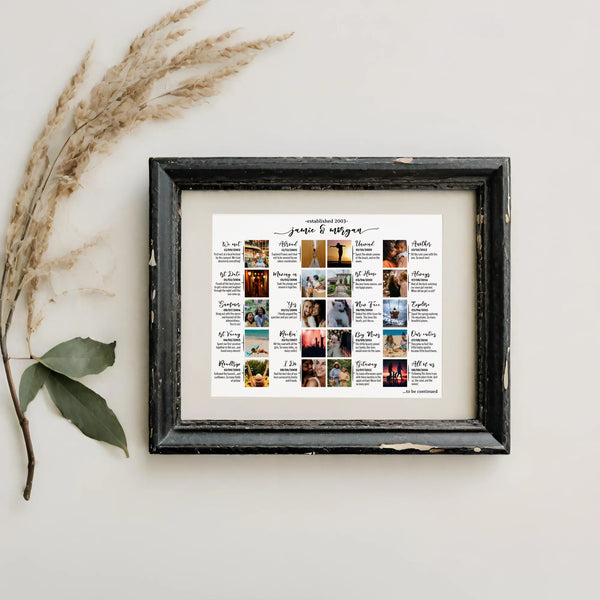
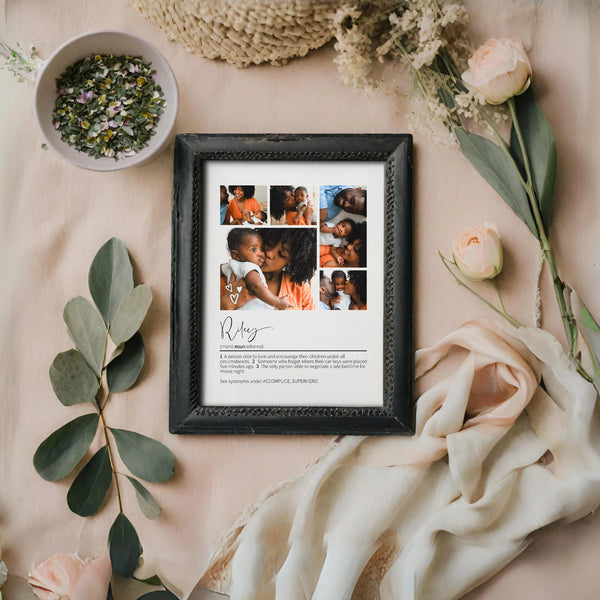
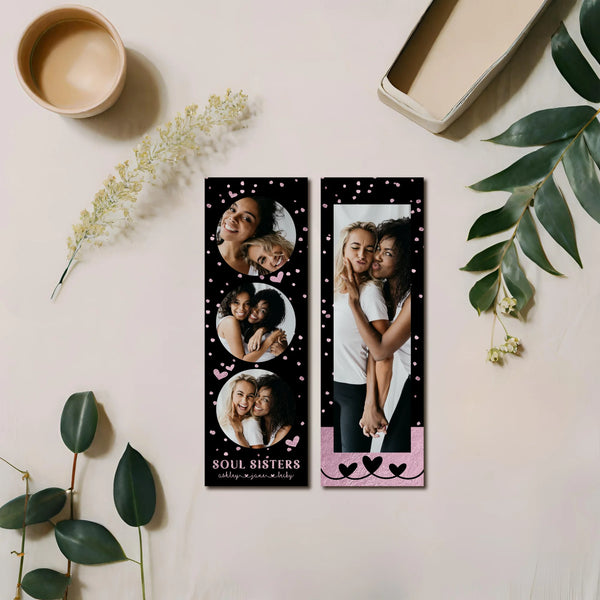
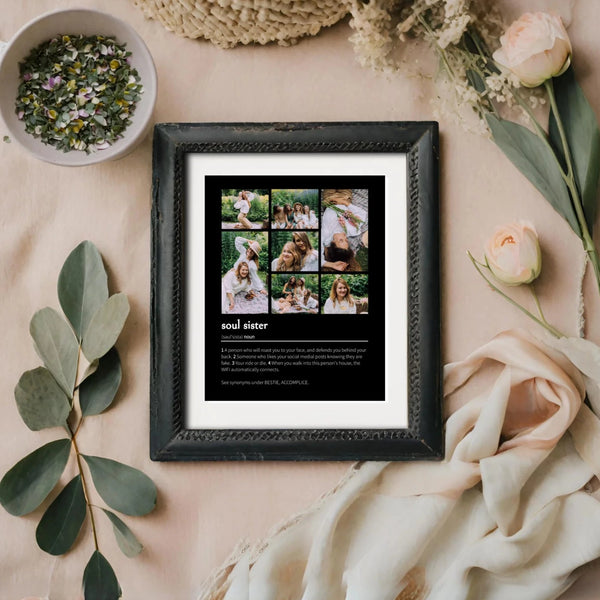
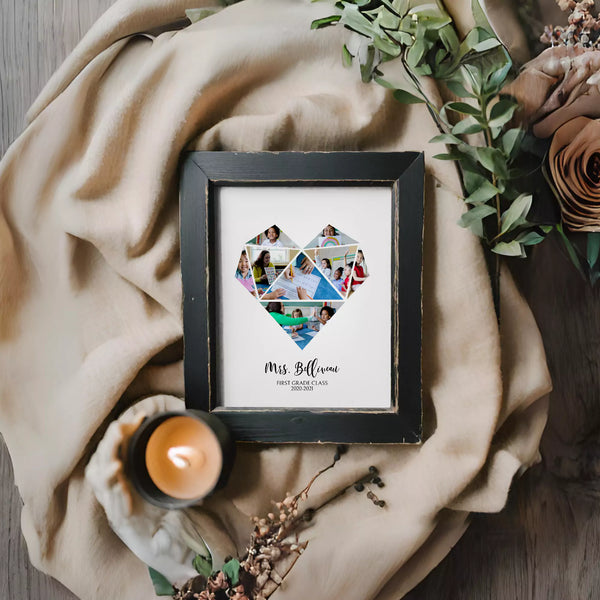
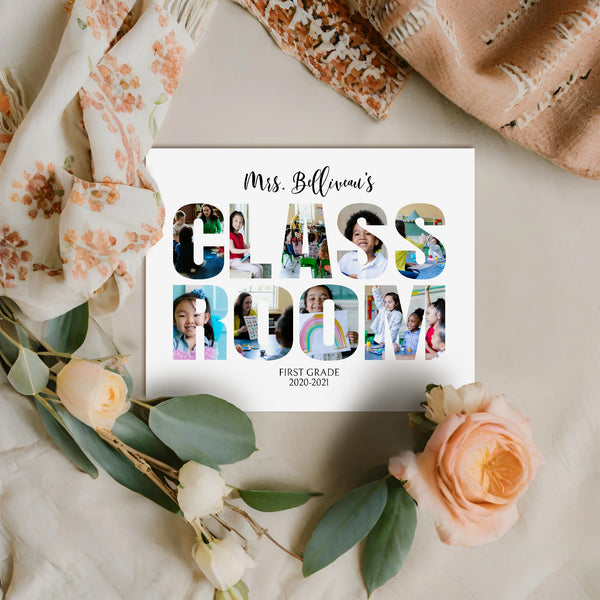
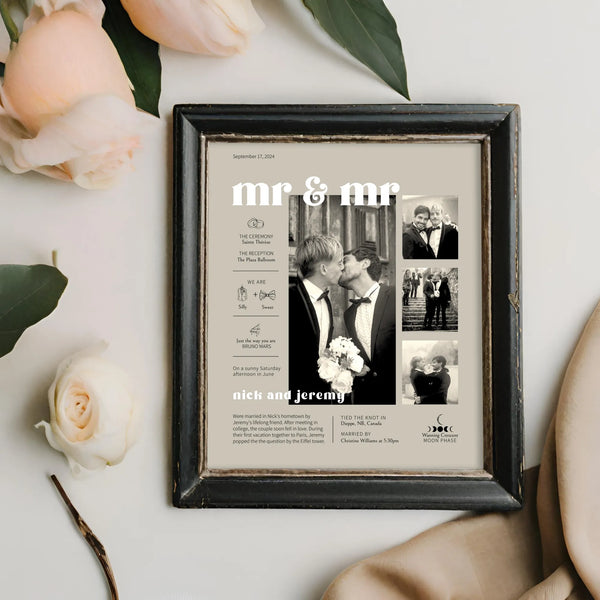
First we will replace the images with your awesome pics :) But before you touch another button, do not, and I repeat, DO NOT delete the original photos in the template. This will also delete the photo mask, so your photo will just show up the way it is, the letter/shape will not be there to mask it.
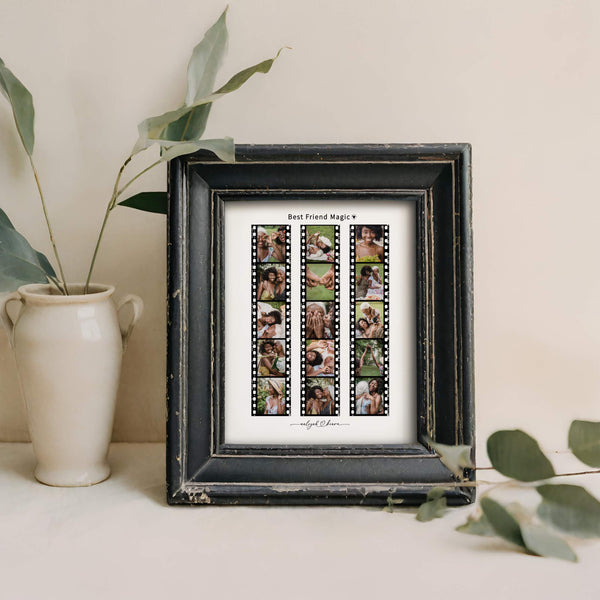
PRO TIP - USING FONT GLYPHS
Access all font glyphs by clicking the “à” button next to font selection list. If your chosen font has swashes or hearts it will be available here.

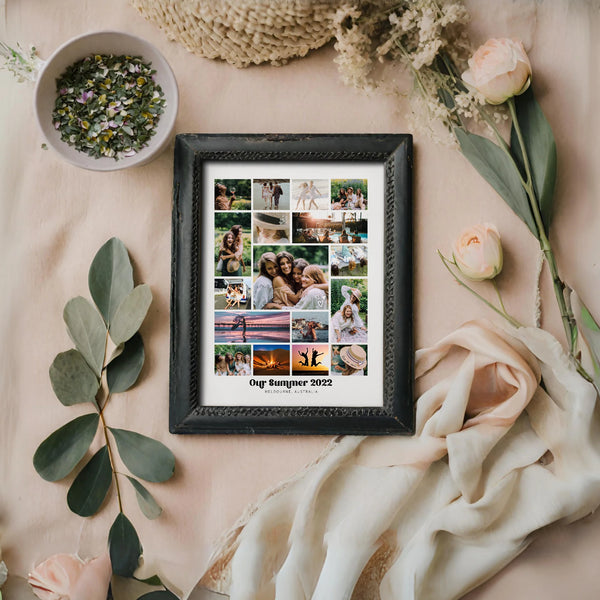
Let's replace those photos!
METHOD 1 (of 2) the Point & Click Method.


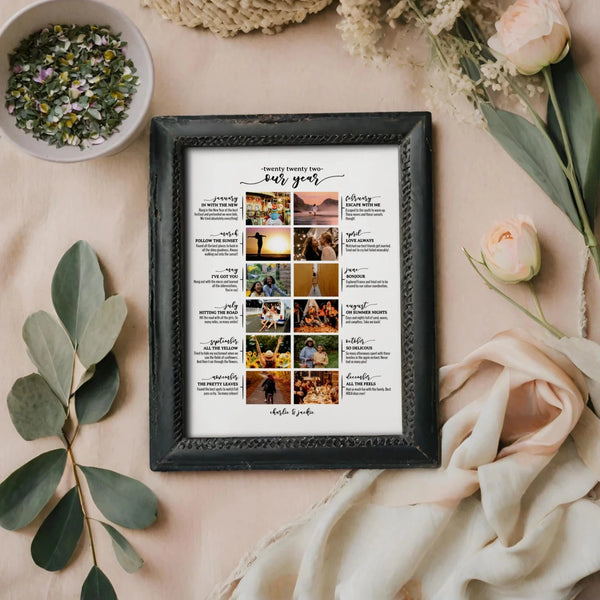
METHOD 2, the Layers Method.
Click the LAYERS menu in the bottom right of editing tools column to open the layers list.

Once it is open, select image layer you want to replace. All the photo layers have orange arrow next to their names. Then click the REPLACE IMAGE button once it appears.

Again you'll get a popup window. Either drag & drop or browse to find your photo. Once you've got the photo click SAVE.
Now for some photo editing!
Okay, the image has been replaced but you will probably want to resize, rotate, or just move it around. First let's select the image, either click on the image in the design or select the image's layer from the Layers Menu.
Resizing

Rotating
Go take another look at the bounding box. Look for a white circle in the middle of the upper bounding box line. If you hover over the white circle a rounded arrow will appear. Click the arrow and drag to adjust the rotation of your image.

**Go ahead and right click on your image/text layer for other more editing, like: cut, copy, duplicate, rotate, etc.

What about the text
Don't forget, not all text is editable in all designs. Check the demo link in your design to see what is editable before purchasing.
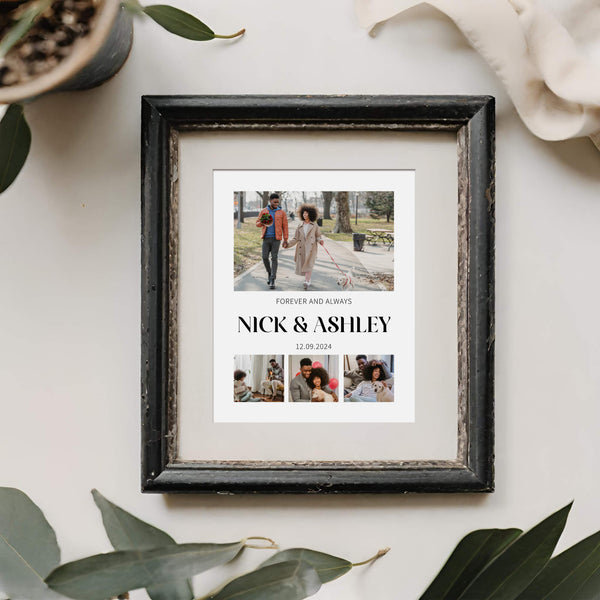
Editable text has so many options you can change: colour, size, and even font. There are a heap of style options that can be edited as well, like drop shadow, outer glow, opacity and more.
Go ahead and select the text you want to edit from the design window or the layer in the Layers Menu. The text box and editing tools options will appear in your editing tools column on the right (above the layers menu).

Go ahead and experiment with your text. We have changed the colour to red, added a drop shadow, AND changed the font (and still so much more we could do)!

Oops!
Made a mistake? No worries, Corj has Undo and Redo buttons. You can also revert to the original version of the design.
Want more instructions?
No problem! There are in-depth instructions and photo editing tips included with each of our templates, it’s even accessible with the demos. It will be right there with your template in Corjl.
Now that you're an expert in editing Corjl templates, go have fun! And keep making those beautiful personalized things like a boss!